
When you first start a Squarespace website, you’re given a built-in domain that looks like this: yourname.squarespace.com. It’s great for testing and designing, but when you’re ready to launch your site, you’ll probably want something cleaner — like yourname.com.
The good news? Changing your built-in domain is quick and easy. In just three steps, you can switch to a professional domain name and make your website look more polished and trustworthy.
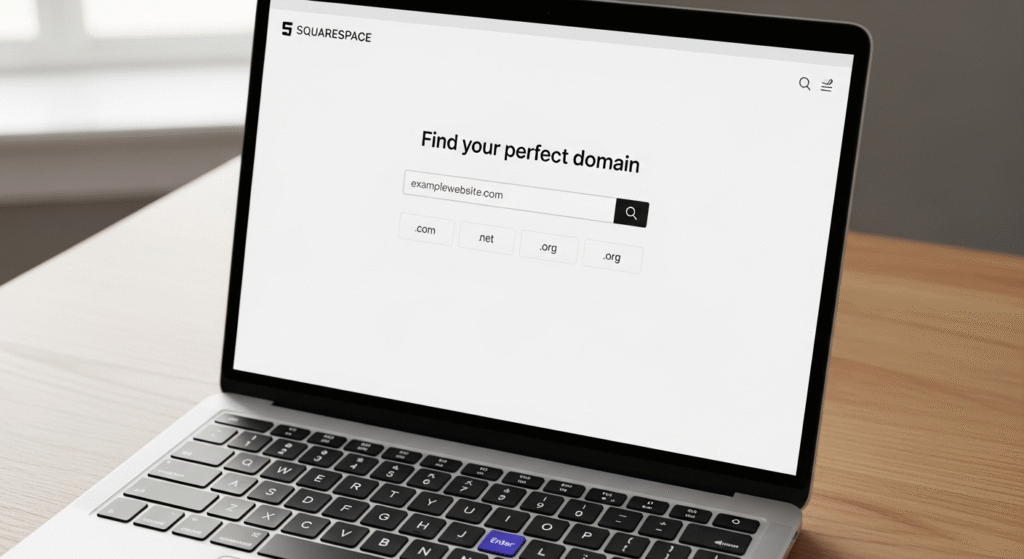
Step 1: Choose and Register Your New Domain
Start by picking the domain name you want to use. Try to choose something short, simple, and related to your business or brand.
You can buy your domain directly through Squarespace or use another service like Google Domains or Namecheap. If you buy it through Squarespace, it connects automatically — no setup needed!
A few tips for picking the right name:
- Keep it short and easy to remember.
- Avoid special characters or hyphens.
- Go for a
.comextension if you can. - Make sure it matches your business name or purpose.
Once you’ve decided on your domain, you’re ready for the next step.

Step 2: Connect Your Custom Domain
If you bought your domain from Squarespace, setting it as your main address is super easy.
Here’s what to do:
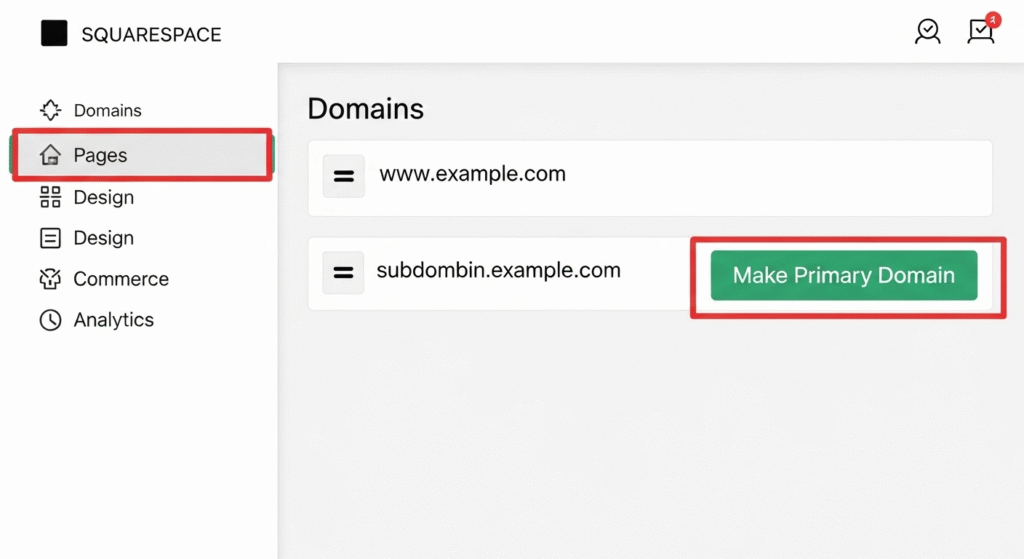
- Go to your Home Menu → Settings → Domains.
- Find your new domain.
- Click Make Primary Domain to make it your main site address.
If you purchased your domain elsewhere, you’ll need to connect it manually:
- Click Use a Domain I Own in your Squarespace domain settings.
- Type your domain name.
- Follow the steps to update your DNS records (Squarespace gives you exact instructions).
It might take a few hours for everything to update — that’s completely normal.
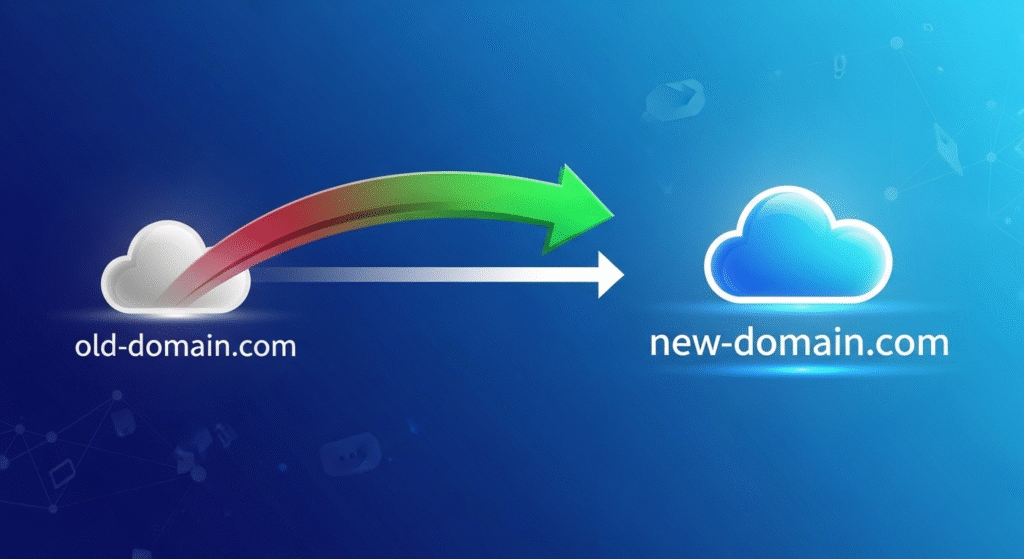
Step 3: Redirect Your Old Squarespace Domain
Once your new domain is active, you’ll want anyone who visits your old address (like yourname.squarespace.com) to automatically go to your new one.
Squarespace handles this automatically when you set a primary domain, so you don’t need to worry about losing visitors or SEO rankings. All old links will automatically redirect to your new domain.
Bonus Tip: Double-Check Your Links
After changing your domain, take a few minutes to check that everything is working perfectly.
- Update links on your social media profiles and email signatures.
- Reconnect tools like Google Analytics or Search Console if needed.
- Visit your site on mobile and desktop to make sure it loads correctly.
These small checks make sure everything feels smooth for your visitors.
Conclusion
Changing your built-in Squarespace domain name might sound technical, but it’s actually really simple. In just a few clicks, you can go from yourname.squarespace.com to a custom web address that looks professional and trustworthy.
Just remember the three steps:
- Pick a new domain.
- Connect it in Squarespace.
- Let Squarespace handle the redirects.
Once it’s done, you’ll have a polished, branded website that’s ready for the world to see.
Must Read : https://launchyoursite.online/the-honest-truth-is-squarespace-good-for-seo/